Welcome to my blog, where a 30-something couple from the UK renovate and extend an old cottage, build some outbuildings, raise some hens and grow firewood trees and vegetables on our Acre in Hampshire. It's a bit like a smallholding but without too many animals, so we call it a homestead - living within our means, relying on ourselves and having a wonderful life!


.

Tuesday 18 February 2014

Adventures in Plastering

So, it turns out that plastering is not as impossible as it looks!

We paid to have a few walls plastered in the new bathroom when we bought the house - it made financial and practical sense, as the builders were here and being paid anyway, and a bit of plastering only cost us a slab of beer.

Looking round the house, most walls (all lathe and plaster construction) were in a poor state. The options were to patch and fill with Easyfil, strip the lathe and plaster and start again with plasterboard, or have them skimmed. The latter seemed like the best mix of economy of effort and speed of completion. However, the price was an issue - it seems that most estimates were for £100/wall - when we have five or six to do, it became a big job - particularly when the materials costs are about £5/wall. I decided to do some research!

I stumbled across www.diyplastering.co.uk, which contained some great video clips and instructions. A quick lap to town found me armed with a bag of Multifinish Plaster, a hawk and trowel - there was no stopping me! The first job was a re-skinned airing cupboard, which a previous resident had (for some inexplicable reason) covered in hardboard. The end result was sufficiently good to confirm that I should press on and try a proper wall.

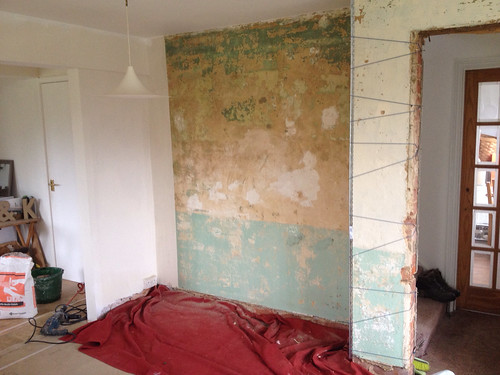
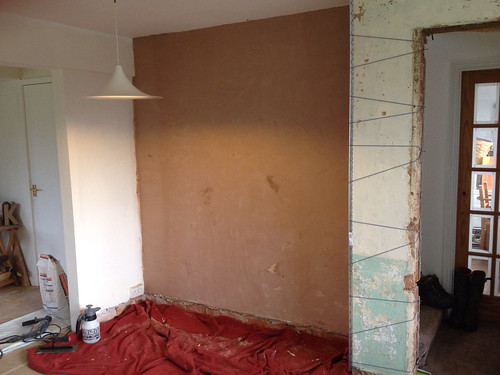
This is a pic of the wall in our living room before I attacked it, with patches filled in with concrete (yup, really) and an odd two tone paint finish;
 
And after two skim coats of plaster;
 
 
The walls had quite high suction - the rate at which the water from the plaster is drawn into the wall. Slower is better, as it gives you more time to work the plaster as it dries. This wall sucked the water out before your very eyes - despite two coats of diluted PVA glue which limits the effect. The second coat was better than the first as it dried more slowly, allowing a better finish.
I'm still learning lots - I end up with lots of little holes and patches which need to be filled after the plaster has dried, but the walls are at least flat and smooth. I've done the airing cupboard, a large wall in the new bathroom, a window reveal and this wall in the sitting room. The best thing is the price - I think a wall takes about 2-3 hours of my time, and a fiver for plaster. This saves about £30 an hour for my time - a worthwile saving.
Any tips for getting a better finish first time round?


Monday 17 February 2014

Chopping trees, hedges and Bonfires!

What a glorious spring-like day! I was all set to have an hour on my road bike, but by the time Kristy and I had taken Monty on one of our regular walks (Seven Stiles) we decided that we should really press on in the garden.

I started by logging the tree that I'd pulled over with the Land Rover the day before, but one thing led to another and I took about six ivy covered trees down. They were totally bound with ivy as you can see from this pic. It's really no wonder that ivy will kill a tree if allowed free reign.

 
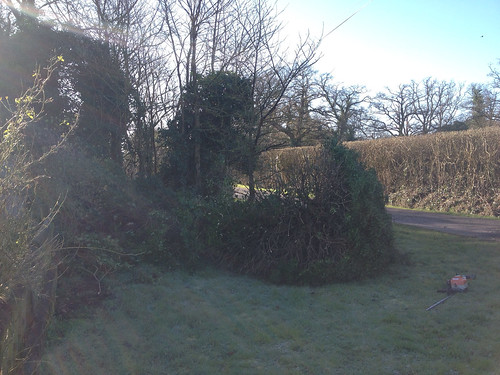
I took a pic to show a before and after. Before...
 
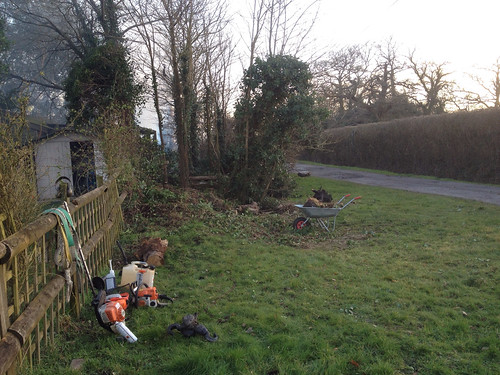
And after:
 
Quite a difference I'm sure you'll agree. This whole copse will need to be grubbed out to make way for our green oak barn, that will eventually incorporate a garage, workshop, tractor shed and summer house / garden office. We will then start again with native trees and hedging.
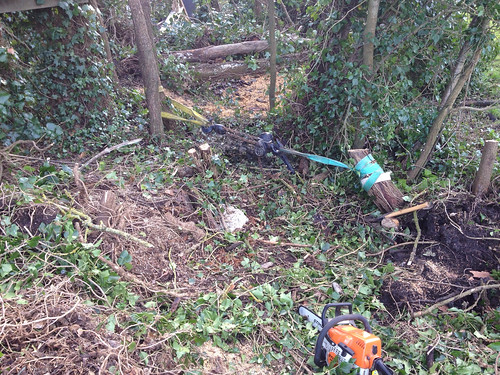
The trees were fairly straightforward, but the stumps were something else. I used a 2 ton chain hoist that I'd bought to help change the chassis on the Land Rover, combined with a couple of lifting strops, to winch the stumps out. The soft ground definitely helped!
 
 
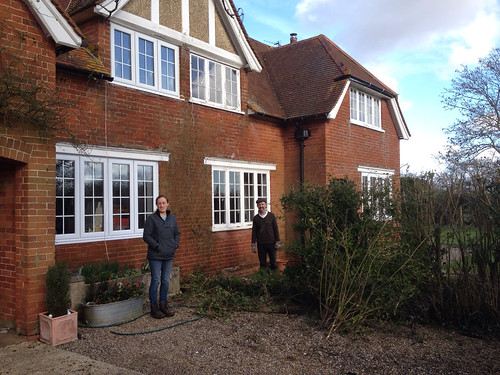
Our neighbour Graham was spurred on by the activity, and chopped down the woody, leggy hedge that separated our front gardens. This was once a nice hedge, but had been seriously neglected and not cut for a number of years. Kristy and I had already cut it down from about 15 feet to 7 feet in the summer - the top of the hedge was blocking light in the first floor windows! Here is Kristy wondering if Graham was doing the right thing...
And the finished article...
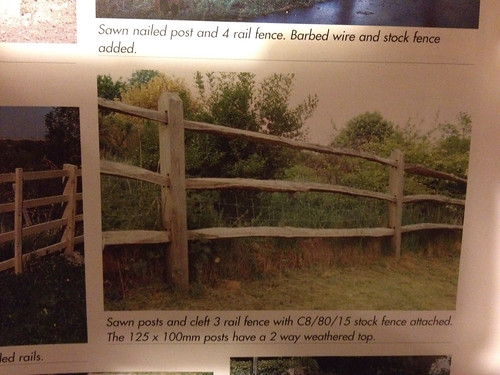
It makes both gardens feel much more open and lighter - the dogs love it as well! We also decided over supper to replace the hedge with a post and cleft rail fence, with stock fencing incorporated to contain the dogs. Something like this, which we found in a catalogue of Charlie's. The hedge will be able to grow up the fence as well, but kept firmly in check this time!
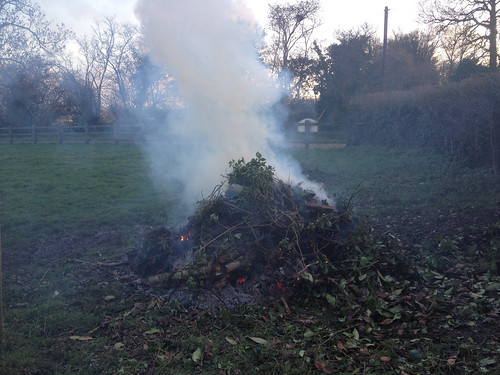
Finally we took advantage of the fine afternoon to have a huge bonfire in our front paddock. We had a large unburnt pile from a previous attack on our laurel tree, plus the trees I had cut, plus the hedge. The whole lot went, and the bonfire is still smouldering 24 hours later.


Saturday 15 February 2014

More Storms

What a windy night last night! I had a nasty feeling that we might lose our Eycalyptus tree, which would have landed on my workshop, the Defender and our oil tank. Thank goodness it held.
We did lose some fence panels between our garden and our next door neighbours. These had previously blown out and were replacement panels. Fortunately they didn't break this time, and we could just slot them back in place.
One of the old, ivy covered trees had fallen to about 60 degrees and was in danger of taking out another fence. I hooked it up to the Landy and carefully pulled it back the other way and onto the grass. Tomorrow's job is to cross cut and split the trunk.