So, it turns out that plastering is not as impossible as it looks!
We paid to have a few walls plastered in the new bathroom when we bought the house - it made financial and practical sense, as the builders were here and being paid anyway, and a bit of plastering only cost us a slab of beer.
Looking round the house, most walls (all lathe and plaster construction) were in a poor state. The options were to patch and fill with Easyfil, strip the lathe and plaster and start again with plasterboard, or have them skimmed. The latter seemed like the best mix of economy of effort and speed of completion. However, the price was an issue - it seems that most estimates were for £100/wall - when we have five or six to do, it became a big job - particularly when the materials costs are about £5/wall. I decided to do some research!
I stumbled across www.diyplastering.co.uk, which contained some great video clips and instructions. A quick lap to town found me armed with a bag of Multifinish Plaster, a hawk and trowel - there was no stopping me! The first job was a re-skinned airing cupboard, which a previous resident had (for some inexplicable reason) covered in hardboard. The end result was sufficiently good to confirm that I should press on and try a proper wall.
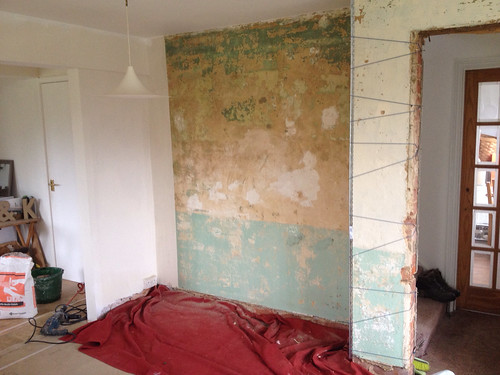
This is a pic of the wall in our living room before I attacked it, with patches filled in with concrete (yup, really) and an odd two tone paint finish;
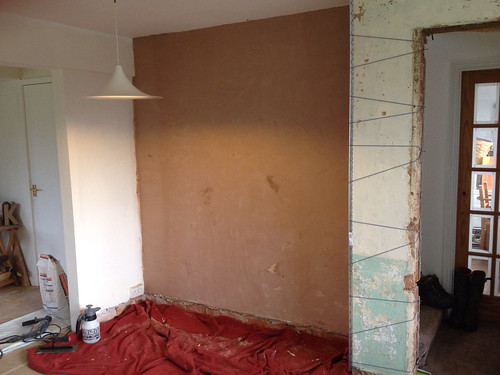
When we over coat walls we buy a sealer type stuff thats got grit in it. It seals the walls and gives them a key for the new coat of plaster. Be careful if the walls are pulling too much as your end up with it all cracked.
ReplyDelete